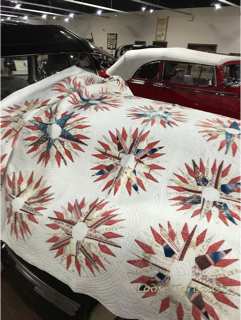
Hello Everyone
I have been making a few more Lucy Boston Patchwork of the Crosses blocks this past week and thought I would write a tutorial on how to fussy cut fabrics to make the frame around the outside round of a block.

I am doing this tutorial for myself as much as I am those of you that want to get that "framed" look in your blocks. Whenever I find a striped fabric that I think would work to frame the outside round of a POTC block, I have to puzzle just how to go about placing my templates.
I like to make my own templates that I use for fussy cutting English Paper Piecing. I simply trace one of my paper pieces (in this case 1" Honeycombs) and then add 1/4" to 3/8" around the outside. I sometimes make extras of my templates to carry with me when I go shopping so I can audition a fabric in my window template. If it gets lost along the way, it doesn't take a lot of effort to make another template.

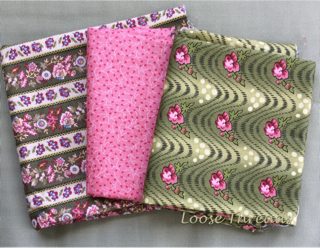
A Lucy Boston block takes 24 paper pieces. Most blocks use 4 different fabrics and have 4, 4, 8, and 8 of each fabric.. When you do a block with an outside frame you need 3 fabrics using 4, 4 and 16 of each fabric. I chose the fabric on the right (Di Ford-Hall) with the flowers to fussy cut the center 4 blocks. The other 4 cut from the pink are Kathy Hall fabric. Both are by Andover. The stripe is a Kaye England fabric (Wilmington I think) and is narrow enough to use for the outside frame.
I centered the flower in my window template. I left a little bit of the pink flower below in the window at the bottom. That will make a little pink flower in the center of the block where the pieces meet when it's stitched.

I traced as shown below with a permanent marker. I like to do my fussy cut EPP pieces this way because it makes good TV work in the evenings to cut them out with scissors. You can always use an acrylic template and rotary cut your pieces if you choose.

For this tutorial I made 3 window templates. You can see how I drew the lines on each template. This is where you will line up the stripe on your fabric. The lines on the templates are drawn approximately an inch down from the top. The lines drawn on the yellow and pink template match along the edge where they will meet the green template (see arrow) and stay parallel (note the 1" mark along the top of the template where you draw the line on the other side).

The line on the pink template bottom will line up with the next green piece the same as the yellow template. Line your ruler where you see the pink arrow and keep it parallel to draw the other line.
The line on the pink template bottom will line up with the next green piece the same as the yellow template. Line your ruler where you see the pink arrow and keep it parallel to draw the other line.

Then I drew arrows so I know which way the template will be placed on the fabric.

Cut 8 from the green template, 4 pink and 4 yellow from the fabric. Note how the lines on the templates are all placed at the same point in the stripe on the fabric.

Here are the pieces cut out before glue basting to the Honeycomb papers.

Line up the corners of the paper to match that point in the stripe where you see the arrows.

Here they are all glued and ready to stitch.

This is the finished block. I wouldn't want to do this to every block in my quilt, but I think a few fussy cut this way add some interest.

Today I'm linking up with Design Wall Monday. I'm glad that my friend, Judy from Small Quilts and Doll Quilts has taken over hosting Design Wall Monday.
Thanks for stopping by for a visit.
I hope you are finding some time to stitch today.